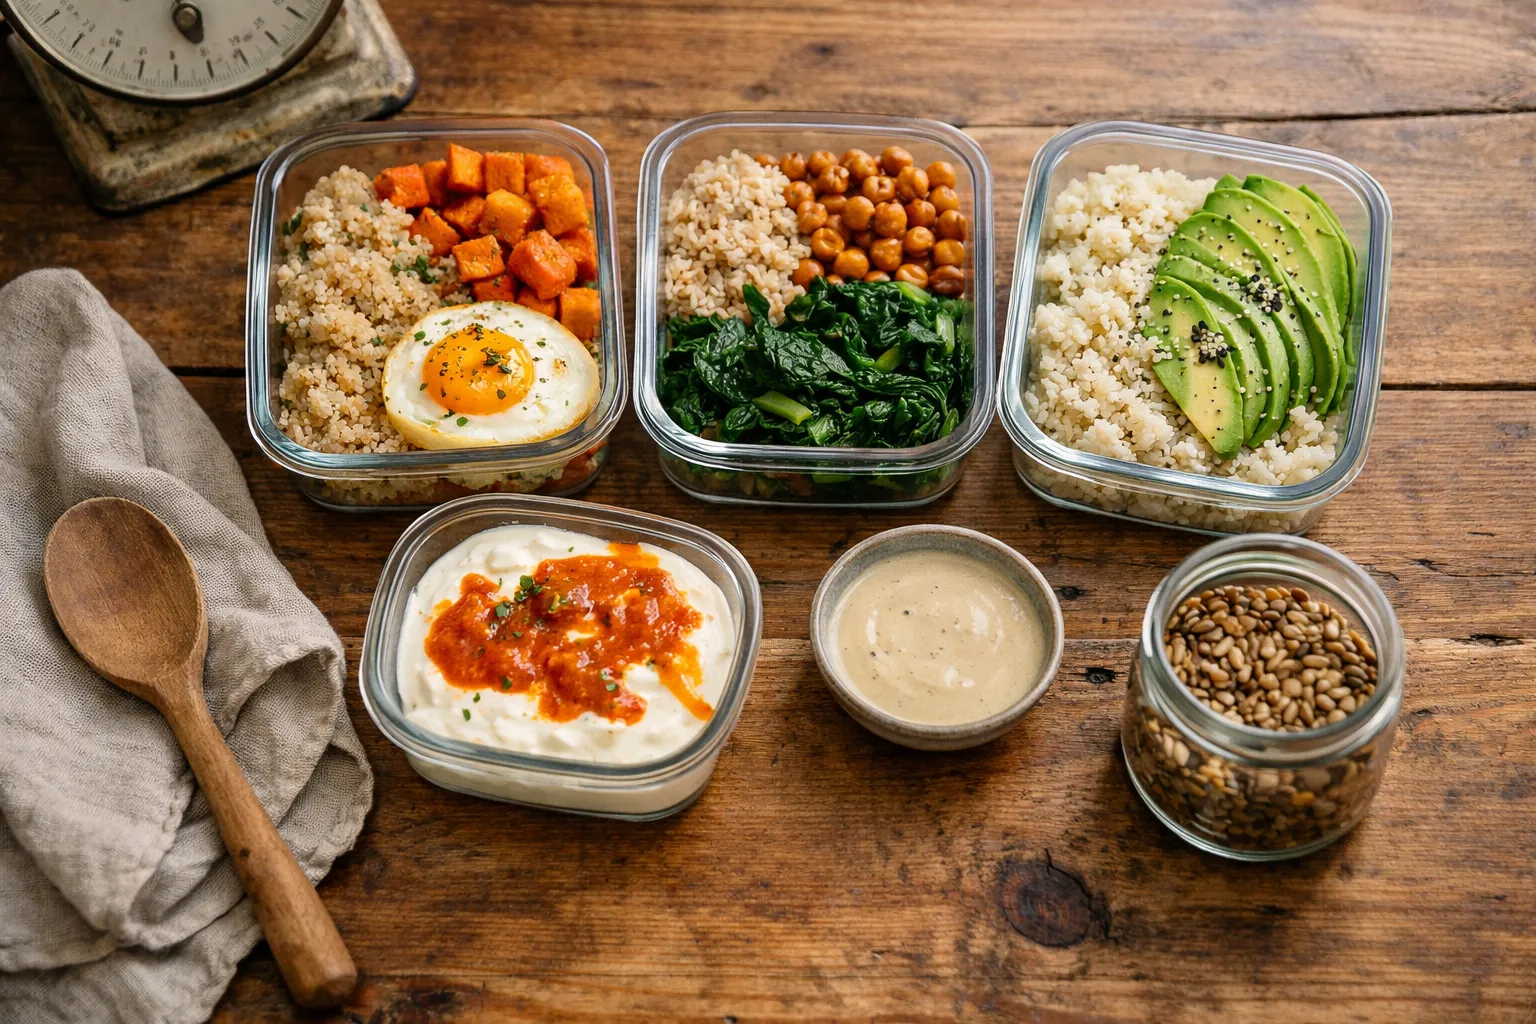
What you will learn: a concise, current plan for batch-cooking balanced breakfast bowls in October 2026—what to buy, how to time a batch session, which new tools and ingredients genuinely save time, and the updated food-safety and reheating steps you must follow. Who this is for: home cooks and recipe fans who want 5–7 ready breakfasts per week that taste fresh, minimize waste and work reliably with modern kitchen gear.
Prerequisites and context: what to know first
Before you begin, confirm two practical things: your refrigerator maintains 40°F (4°C) or below (use a fridge thermometer) and you have one device that crisps—an air fryer, countertop convection oven, or a convection toaster oven. These are now common in 2026 and materially change how batch-made components perform on day-of reheats.
Important constants:
- Food-safety basics: Cool cooked food promptly (within two hours), refrigerate at ≤40°F, and consume prepared refrigerated meals within 3–4 days unless frozen. Reheat to an internal temperature of 165°F (74°C) for safety. These align with CDC/USDA guidance.
- Design principle: Build each bowl from four parts—base, protein, cooked vegetables, sauce/toppings—and store dressings and delicate toppings separate to avoid sogginess.
What's new for October 2026 (why this update matters)
Since mid‑2026, three practical shifts matter for batch cooking:
- Appliance refinements: Many compact smart ovens and air fryers now include reheat-and-crisp profiles that let you program a 90–120 second microwave step followed by a short convection finish. This reduces the need for microwaving-only reheats and preserves texture.
- Ingredient availability: Retail growth in refrigerated, high-protein plant yogurts (typically 10–16 g protein per serving) and multi-bean roasted blends makes plant-forward bowls more satiating. Also, more grain brands now offer compostable or recyclable pouches, reducing prep and plastic waste.
- Digital meal planning: AI-enabled meal planners and scheduling tools (in many recipe apps) can now auto-scale ingredient lists and generate time-optimized cooking plans for multi-batch sessions—helpful when coordinating multi-appliance workflows.
Core components and updated ingredient planning
Maintain the same proportions—approximately 35–45% base, 25–30% protein, 15–25% veg, 5–10% sauce—but adjust to new options and real-world portions.
- Base (35–45%): quinoa, brown rice, steel-cut oats, pre-cooked chilled grain pouches or cauliflower rice. Example: 1 cup dry quinoa yields ~3 cups cooked—measure ~¾ cup cooked per bowl.
- Protein (25–30%): eggs, smoked fish, Greek-style yogurt, extra-firm tofu, tempeh, or roasted legume blends. Example: 1 large egg or ¾ cup cooked beans per bowl.
- Vegetables (15–25%): roasted sweet potato, broccoli, mushrooms, sautéed greens, or quick-pickles for acidity. Plan for ¼–½ cup cooked veg per component depending on density.
- Sauces/toppings (5–10%): tahini-lemon, yogurt-harissa, chimichurri, za’atar oil, toasted seeds—store separately when possible.
Shopping rule: calculate per-bowl amounts, multiply by the number of bowls, then add 10–15% extra for shrinkage and mistakes. For five breakfasts, the original shopping list remains practical—if you scale to seven, add roughly 35% more of base and vegetables (not every topping needs increasing proportionally).
Updated efficient cooking methods (what to use and why)
Choose workflows that let you overlap tasks and use modern appliance features.
1) Sheet-pan roasting + convection/air-fryer finish
- Roast dense veg (sweet potato, carrots, squash) at 400–425°F (200–220°C) for 20–35 minutes on a rimmed sheet pan; use convection to cut time and improve browning.
- Store roasted veg in shallow pans to cool quickly, then refrigerate. On day-of, reheat and re-crisp 4–8 minutes in a 375°F (190°C) air fryer or convection oven for best texture.
2) Multi-cooker/pressure cooker for grains and beans
Pressure-cookers reduce active time for dried beans, brown rice and steel‑cut oats. Use the pot’s timer to finish near the end of your session; avoid long “keep warm” holds—rapid cooling and refrigeration is safer than prolonged hot-holding.
3) Air fryer for proteins
Air-fry extra-firm tofu, tempeh strips and roasted chickpeas in 10–20 minutes for a crisp exterior with minimal oil. If using a smart air fryer, save the profile for repeatable results.
4) Eggs: bake, steam or sous‑vide
Baked eggs in muffin tins, soft-boiled eggs, or eggs cooked in a sous‑vide circulator (if you own one) produce predictable textures. For reheating, pasteurized sous‑vide eggs or baked eggs reheat more uniformly than hard-boiled yolks.
5) Sauces, finishes and timing
Blend emulsified dressings with an immersion blender; make ¾–1 cup per five bowls and store refrigerated in airtight jars. Hold high-acid dressings separate if you plan to store for more than 48 hours to preserve emulsion stability.
Updated 60–75 minute timeline (5 breakfasts, streamlined)
With pre-cooked grain pouches or an active schedule, most cooks can complete five bowls in 60–75 minutes. This timeline assumes one oven (or convection sheet pan), one air fryer and one pot/multi-cooker.
- 00:00–00:05 — Preheat oven (425°F/220°C convect), set multi-cooker for grains or place pre-cooked pouches in the fridge ready to warm.
- 00:05–00:12 — Chop sweet potatoes, trim broccoli, halve cherry tomatoes; toss dense veg with oil, salt and spices and spread on the sheet pan.
- 00:08 — Start grains (or prepare pouch-to-warm setup). If using dried beans, these must be pre-soaked or pressure-cooked earlier—reserve them for a separate session if you need 60-minute total time.
- 00:12 — Put sheet pan in oven (20–25 minutes). Place marinated tofu/legume blend in air fryer at 00:18 for a 12–15 minute cycle to finish near the vegetables.
- 00:18–00:25 — Whisk or blend dressing; prep eggs (bake in muffin cups or soft-boil). While appliances run, sauté quick greens (2–3 minutes).
- 00:30–00:40 — Rest roasted veg and proteins 5 minutes; fluff grains and portion into shallow pans for rapid cooling.
- 00:40–00:55 — Assemble five containers: base (~¾ cup cooked), protein (one egg or ¾ cup), veg components, a small sealed container of dressing, and crunchy toppings in a tiny cup.
- 00:55–01:05 — Cool containers uncovered for 10–15 minutes on a cooling rack, seal, label with date and reheating notes, then refrigerate.
Storage, freezing and reheating — updated best practices
Food safety and texture preservation are the priorities.
- Refrigeration: Cool foods within two hours and refrigerate at ≤40°F. Consume refrigerated prepared bowls (without avocado or delicate greens) within 3–4 days. Use a refrigerator thermometer to verify.
- Freezing: Freeze components (grains, roasted veg, cooked beans, tofu) in flat, single-layer vacuum-sealed or freezer-grade containers for best quality 2–3 months. Vacuum sealing reduces freezer burn but does not change safe-storage fundamentals.
- Vacuum sealing and bags: Vacuum-sealed cooked grains freeze and thaw with less moisture migration. In the fridge, vacuum-sealing slows oxidation but still follow the 3–4 day guideline for prepared meals.
- Reheating: Reheat to 165°F (74°C). For speed: microwave covered 60–90 seconds, then re-crisp roasted items 3–6 minutes in an air fryer at 375°F (190°C). For microwave-free reheating, use a 375°F convection finish for 6–10 minutes. Always add delicate fresh toppings after reheating.
Dietary modifications and 2026 ingredient swaps
Keep the bowl structure and swap ingredients to meet dietary needs.
- Vegan / plant-forward: Use air-fried extra-firm tofu, tempeh bacon, roasted legume mixes or high-protein oat/pea yogurts (many options provide 10–16 g protein per serving in 2026).
- Gluten-free: Quinoa, certified gluten-free oats and buckwheat remain reliable. Use tamari to replace soy sauce.
- Low-carb / keto: Swap grains for cauliflower rice or shredded roasted radish and increase healthy fats (avocado, olives, seeded toppings).
- High-protein: Double up eggs, add smoked fish or Greek-style yogurt, or include a cottage-cheese style cultured product if dairy-tolerant.
- Low-sodium: Rely on acids, herbs and toasting spices; rinse canned beans and choose low-sodium packaged items.
Three contemporary example bowls (rotate weekly)
1) Mediterranean Grain Bowl, modernized
- Base: herbed quinoa (¾ cup)
- Protein: roasted chickpea + green lentil blend (¾ cup)
- Veg: roasted zucchini, cherry tomatoes, preserved lemon
- Sauce: lemon-tahini (1–2 tbsp, stored separately)
2) Sweet-Potato & Gochujang Greens Bowl
- Base: roasted sweet potato cubes (½–¾ cup)
- Protein: air-fried tempeh or tofu tossed in gochujang-tamari
- Veg: sautéed kale, quick-pickled cucumber
- Sauce: yogurt-harissa (store apart)
3) Power Grain & Smoked Fish Bowl
- Base: brown rice or steel-cut oats (¾ cup)
- Protein: smoked salmon or Greek-style yogurt
- Veg: steamed broccoli, pickled red onion, capers
- Sauce: dill-lemon dressing
Common mistakes and quick fixes
- Sealing hot food: Avoid sealing steaming-hot food. Cool in shallow pans or ice baths for pots, then seal—this prevents condensation and bacterial growth.
- Soggy bowls: Store dressings, smashed avocado and crunchy toppings separately. Use small silicone cups or jar lids for dressings.
- Bland reheats: Finish reheated components with a splash of acid (lemon, vinegar) and fresh herbs to restore brightness.
- Over-reliance on microwaves: Microwaves are fast but flatten roasted textures; a quick air-fry or convection finish restores crispness in 3–6 minutes.
Pro tips
- Use your air fryer as a fast second oven: crisp proteins while sheet-pan vegetables roast to shorten total time.
- Leverage meal-planning tools to auto-scale ingredient lists and create an appliance timeline (multi-cooker start time, oven finish, air fryer cycle).
- Batch dressings as two-part systems—acid and oil separate—if storing beyond 48 hours to preserve texture and brightness.
- Label containers with cook date and reheating instructions (e.g., “Microwave 90s, air-fry 4 min at 375°F”) to streamline mornings.
- When freezing, portion components flat in zip-top freezer bags or vacuum-seal to speed thawing and reduce reheating time.
FAQ
How long do batch-cooked breakfast bowls safely keep in the fridge?
Store assembled bowls (without avocado or delicate greens) for up to 3–4 days refrigerated at ≤40°F. Proteins like cooked beans and eggs also keep about 3–4 days. Freeze individual components if you need longer storage.
Can I freeze fully assembled bowls?
It’s generally better to freeze components separately—grains, roasted veg and proteins—because assembled bowls lose texture (greens wilt, avocado discolors). If freezing whole bowls, exclude fresh toppings and use airtight, freezer-grade containers; quality will still degrade faster than separate components.
What's the safest and quickest way to reheat while preserving texture?
Always reheat to an internal 165°F (74°C). For speed: microwave covered for 60–90 seconds, then re-crisp roasted components 3–6 minutes in an air fryer at 375°F (190°C) or in a convection oven to restore texture.
Are pre-cooked refrigerated grain pouches worth it?
Yes—they save 15–25 minutes of active prep and are increasingly sold in compostable or recyclable packaging. Use them when you want shorter batch sessions without sacrificing meal quality.
How do I keep avocado usable if I want it in bowls all week?
Best practice is to add avocado day-of. If you must prep ahead for 24 hours, smash with lemon or lime juice and press plastic wrap to the surface, or store sliced avocado with a halved red onion in an airtight container to slow browning for about a day.
Bottom line: in October 2026, batch-cooking breakfast bowls is faster and more flexible thanks to smarter small appliances, better plant-protein options and expanded pre-cooked grain choices. Stick to the food-safety basics—cool quickly, refrigerate, reheat to 165°F—and use an air-fryer or convection finish to make every reheated bowl feel freshly made.