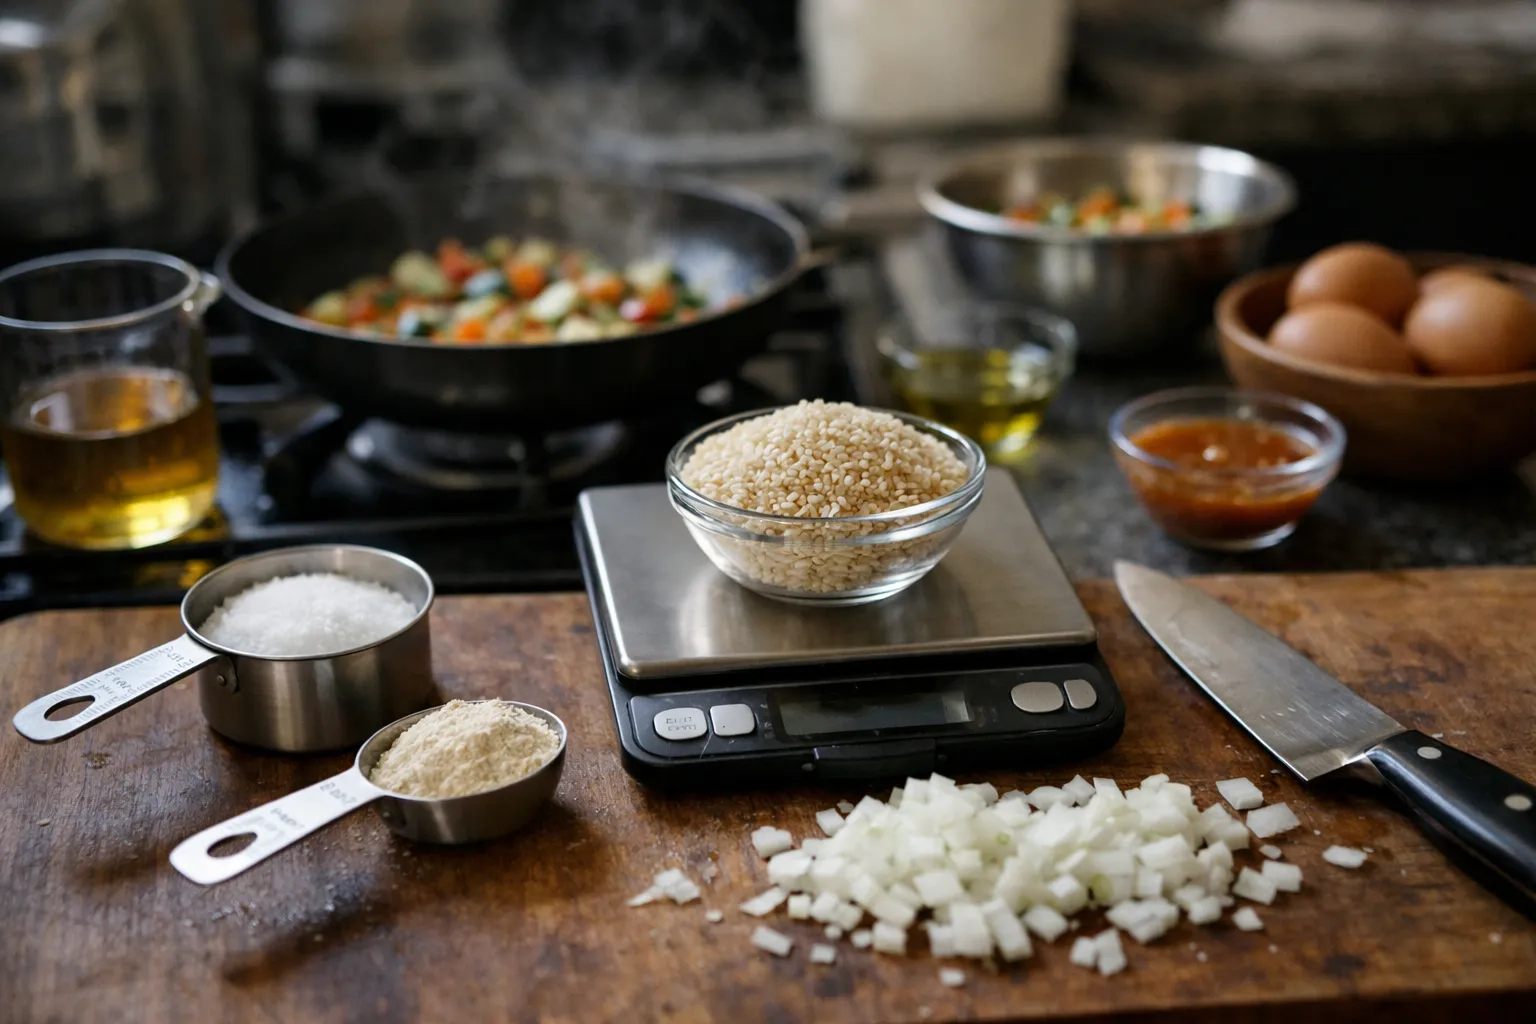
What you’ll learn: This refreshed guide shows recipe enthusiasts how to scale dishes precisely for any serving count—without bland results, underbaked cakes, or overcrowded pans. It’s for home cooks who want reliable, repeatable outcomes when doubling a stew, shrinking a casserole, or multiplying a sourdough bake for a fundraiser.
Why this update matters in 2026: More home cooks now bake and batch-cook regularly, aided by higher-precision kitchen scales, app-integrated recipes, and renewed interest in fermentation and plant-based cooking. Those trends change what mistakes look like and which fixes work best. This article adds practical 2026-era guidance—tools, workflows, and examples—that make scaling faster and more predictable.
Prerequisites / context
Before scaling, have these basics in place:
- A reliable digital scale (0.1 g resolution preferred for baking).
- Measuring spoons and measuring cups for liquids (ml) and small quantities.
- Instant-read thermometer for proteins and large bakes.
- Clear recipe baseline: original serving size and ingredient list (ideally with weights).
Note on tools: since 2022–2024 many new kitchen scales and apps added Bluetooth integration and recipe-sync features. In 2026, these tools are common enough that converting and re-scaling by weight is routine for many home cooks; if you use an app, confirm its scaling logic (weights vs volumes) before trusting it for sensitive bakes.
Overview: Step-by-step approach
- Confirm original servings and target servings; calculate scaling factor.
- Convert every ingredient to weight (grams) where possible.
- Multiply weights by the factor and apply conservative rules for sensitive ingredients.
- Reassess method, cookware, and heat/airflow considerations (especially ovens).
- Estimate prep and active cooking times; plan mise en place and batching.
- Adapt for fermentation, sourdough starters, plant-based swaps, and low-waste goals.
- Taste, test, and document adjustments for next time.
Step 1 — Establish serving size and calculate the scaling factor
Find the recipe’s stated servings or infer it. Common service-size benchmarks: main dishes ~150–200 g protein per cooked serving, sides 75–150 g, and casseroles roughly 1–1.5 cups per person depending on context.
Scaling factor = desired servings ÷ original servings.
Example: a chili that serves 4 scaled to 14 → factor = 14 ÷ 4 = 3.5.
Step 2 — Scale ingredients (weight-first method)
Always convert to weight when possible. Weighing prevents compounding volume errors (packed vs loose flour, grated vs finely chopped cheese).
- Convert cups/tablespoons to grams using reliable conversion tables or the ingredient package; remember density varies (1 cup flour ≈ 120–130 g; 1 cup sugar ≈ 200 g).
- Multiply each weight by the scaling factor and round sensibly—round to the nearest gram for baking, 5 g for bulk ingredients in cooking.
- For liquid volumes, use milliliters and convert when needed: 1 ml = 1 g for water-like liquids; stocks and oils are close enough for home use.
Sensitive ingredients: updated 2026 rules of thumb
- Salt: For batches larger than 2×, start at ~80–90% of the linear scale and taste before service. Larger volumes can mute perception of salt; but you can always add at the end.
- Acid (vinegar, lemon): Start at 90–100% of linear scale; reductions can concentrate acid, so add fresh acid at finish.
- Leaveners (baking powder/soda, yeast): For cakes and quick breads, reduce chemical leaveners to ~90% beyond 2× and retest rise in the oven. For yeasted doughs, scale yeast roughly linearly but pay attention to fermentation timing—larger dough masses often require longer proofing or lower temperatures.
- Spices and aromatics: Scale to 70–95% depending on intensity. Toasted spices often need proportionally less; green herbs and citrus zest scale closer to linear.
- Fats: Scale linearly for lubrication and mouthfeel, but for emulsions (mayonnaise, hollandaise), keep ratios exact—scale the whole emulsion together, or make multiple smaller emulsions and combine.
New 2026 examples: sourdough and plant-based scaling
Fermented and plant-based recipes are more common in home kitchens. They require attention to percentage-based systems and water activity.
Sourdough (baker’s percentages)
Pro tip: scale sourdough using baker’s percentages instead of absolute weights. The starter weight is commonly expressed as a percentage of total flour.
- Example: A loaf formula: 500 g flour (100%), 350 g water (70%), 100 g starter (20% of flour), 10 g salt (2%). To double servings, double each weight. For very large batches (10+ loaves), maintain dough temperature and extend bulk fermentation rather than increasing starter percentage.
- When converting a small-home recipe to a community bake, keep salt at 2% of flour and adjust proofing times based on dough mass and ambient temperature.
Plant-based protein scaling
Plant proteins and meat substitutes often have different water-binding and fat content. Scale their liquids and binders carefully.
- If substituting canned beans for ground meat in a chili, scale beans linearly by weight but reduce added water slightly because beans hold water differently than fresh meat.
- For tofu scrambles or tempeh, scale aromatics and oil linearly; consider adding 5–10% more acid or umami when scaling larger batches to maintain brightness.
Step 3 — Adjust method, equipment, and heat flow
Scaling changes how heat and air interact with food. Plan cookware and method changes deliberately.
- Searing: Avoid crowding. Sear in smaller batches and hold finished pieces in a warm oven (100–120°C / 210–250°F) to maintain crusts.
- Braising and stewing: Larger volumes take longer to come to temperature and can require more gentle, longer cooking to develop flavor. Allow an extra 10–30 minutes beyond the original simmer time for larger batches and check doneness by texture rather than time alone.
- Oven bakes: Larger items may need a lower temperature and longer time (reduce 10–25°F / 5–15°C as a starting point) and rely on internal temperature for doneness. If changing pan geometry, aim to keep batter depth similar across pans.
- Airflow & convection: Many home ovens now have better convection modes (2024–2026 models are common). Use convection cautiously for multi-rack bakes—rotate pans and reduce temperature by 10–20°F.
Baking specifics — updated guidance
- Scale by weight. For cakes, eggs should be treated as a weighed ingredient; a large egg (without shell) typically weighs ~43–50 g—use that mass for fractional egg calculations.
- When scaling beyond 2×, reduce baking powder/soda to ~85–95% and observe rise; if the cake collapses, you likely used too much leavener or batter was overmixed.
- Consider making multiple smaller pans rather than one oversized pan. In 2026, many home bakers favor this to maintain even bake and simplify cooling and storage.
Step 4 — Recalculate prep time and timing strategy
Prep time rarely scales linearly. Chopping and assembly benefit from batching; active stove time often increases.
- Estimate mise en place: set aside 25–40% more prep time for a 3–4× increase if your kitchen workflow isn’t optimized.
- Plan searing and stove batches: time per sear increases with batches—estimate 2–3× the original time for larger roasts or proteins unless you have equivalent extra cooktops.
- Account for oven recovery: a larger dish cools the oven more significantly—allow extra recovery time and preheat the oven a bit longer when cooking at scale.
- Use staging and hold techniques: many scaled menus perform best when components are cooked ahead and finished at service (grains reheated with a splash of water, sauces reduced and warmed).
Step 5 — Low-waste and sustainability considerations (2026)
Reducing waste and energy use is integral when scaling. Practical steps:
- Plan exact portions using weights to avoid overproduction; 2020s smart kitchens and apps make tracking leftovers easier.
- Batch-cook components that store well (beans, stocks) to reuse across meals, cutting food waste and energy per serving.
- Compost trimmings and favor low-impact proteins where possible to reduce carbon footprint at scale.
Step 6 — Taste, test, and troubleshoot
Always build a tasting step into the end of active cooking. For large batches, pull a small sample and adjust seasonings before serving.
- If a stew tastes flat: reduce liquid slightly or add acid and fresh herbs at finish. Taste after 10–15 minutes to allow flavors to meld.
- If baked goods are underdone: use internal temperature targets—cakes ~200–205°F (93–96°C) depending on type—tent with foil and extend bake time.
- If texture is off for emulsions: make smaller emulsions and combine, or re-emulsify with a blender while warming gently.
Common mistakes to avoid
- Scaling only by volume—don’t multiply cups without converting to weight.
- Scaling salt and leaveners linearly for large batches—this often causes over-salt or exploded/flattened bakes.
- Ignoring equipment limits—using a shallow pan for a large roast changes heat transfer and evaporation.
- Skipping a test run when scaling for important events. Even small adjustments matter at serving scales.
Pro tips (advanced)
- Keep a scaling logbook: record what you changed (weights, oven temp, time) and the result. Over several batches you’ll converge on the perfect scale factors.
- Use weighted recipes and baker’s percentages for breads and fermentation-based recipes—these scale more predictably than volume-based recipes.
- When serving large groups, plan for finishing on service day (reheat gently, add fresh herbs and acid at the end) to preserve texture and brightness.
- Leverage modern tools: Bluetooth scales, recipe apps that scale by weight, and kitchen timers for stages. Confirm app outputs against manual calculations initially.
Quick-reference checklist
- Confirm original and target servings; calculate factor.
- Convert ingredients to grams; scale by weight.
- Reduce salt and strong spices for large batches; adjust leaveners conservatively.
- Choose proper cookware and plan batching for searing/cooking.
- Recalculate prep time; stage mise en place to save active time.
- Consider fermentation and plant-based textures; test emulsions at small scale first.
- Taste and document adjustments for future runs.
Practical timing & equipment notes
- Searing 6 pork chops in a 12" pan done in three batches: plan ~20–25 minutes total including brief rest time for holding in oven.
- Doubling a stew in a 6–quart Dutch oven: expect 10–20 minutes longer to reach simmer and 15–30 minutes longer for flavors to meld.
- Baking two 9" layer cakes instead of one deep 9" cake: bake time is often similar; switching to a single 12" pan requires lowering temp 10–25°F and adding 10–25 minutes—use internal temp and skewer checks.
Final tips from the Quick Bites Kitchen test kitchen
Use a digital scale and keep notes. When in doubt, err on the side of under-salting and add at the end. For large events, reheating often improves flavor—cook ahead and finish at service to reduce last-minute stress. Embrace baker’s percentages for breads and sourdough; they’re the most reliable scaling method for fermentation.
FAQ
Can I rely on recipe apps to scale accurately?
Many recipe apps now scale by weight and include ingredient databases, but their accuracy varies. Verify outputs by comparing a few converted weights against trusted conversion tables or your scale. For baking and fermentation, manual checks and a test bake are still recommended.
How should I scale yeast and fermentation times?
Scale yeast roughly linearly, but expect longer bulk fermentation and proofing for larger dough masses. Temperature and dough mass matter more than yeast weight: cooler temps or larger doughs will need more time. For very large batches, use slightly cooler fermentation to avoid overproofing the exterior while interior underproofs.
What if my cake rises too quickly and then collapses after scaling?
Likely causes: too much chemical leavener, overwhipping, or batter that’s too thin. Reduce baking powder/soda to ~85–95% of the linear scale when exceeding 2× and ensure proper mixing. Also check oven temp accuracy—an oven thermometer helps.
How do I scale recipes to reduce food waste?
Plan exact portions by weight, prefer multi-use components (stock, grains), and store extras properly (cool quickly, refrigerate or freeze). Cook slightly less than maximum demand if you can top up with fast components (grains, sautéed veg) at service.
Is it better to make multiple small pans or one big pan for a scaled bake?
Multiple smaller pans usually give more even baking and predictable times. One large pan can work if you adjust temperature down and extend time, but it increases risk of uneven crumb and longer cooling time—opt for multiple pans when possible.
Scaling is a mix of arithmetic, ingredient knowledge, and anticipating how equipment and heat behave at different volumes. Apply weight-first scaling, be conservative with salts and leaveners for large batches, document your adjustments, and build a small tasting step into every scaled run. That approach will deliver consistent results whether you’re cooking for two or two hundred.