
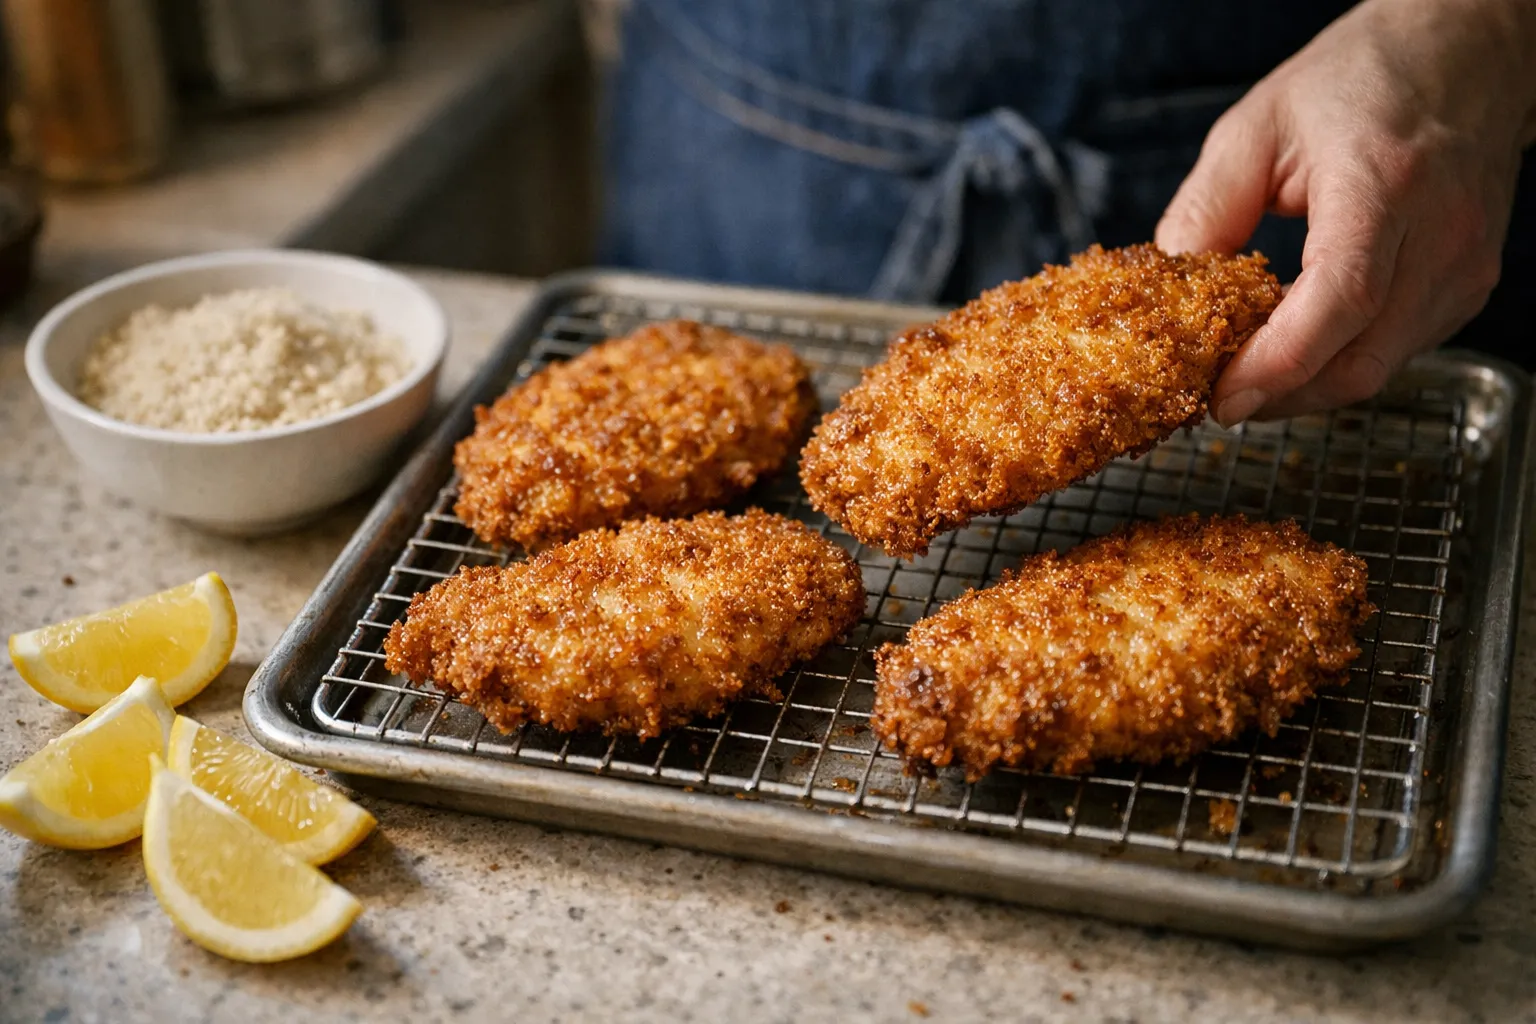
I learned to bread cutlets standing on a little stool next to my grandmother, watching her hands move like they had their own memory—dip, shake, press, rest. That same routine still makes the best crispy cutlets, but small updates in 2026 make them easier and more reliable in today’s kitchens.
This guide is for recipe enthusiasts and fans who want restaurant-style crispy chicken cutlets—pieces that stay crunchy long enough to get to the table with a juicy center. You’ll get three tested cooking options (pan-fry, oven, air fryer), plus fresh June 2026 updates: how modern kitchen tech changes timing, smarter food‑safety cues from USDA guidance, the rise of pre-sliced and plant-based cutlets, and practical sustainability and cost-saving choices that keep the crunch.
Prerequisites & context: what makes a cutlet actually crispy (and why it matters now)
“Crispy” is a texture problem, not a seasoning problem. You’re building a breading that:
- Adheres to the meat so it doesn’t slide off.
- Dries and sets quickly so the crust doesn’t go soggy.
- Browns without burning so the flavor is toasty, not bitter.
Three core principles solve most cutlet issues:
- Thin, even chicken cooks fast: fast cooking minimizes oil absorption and keeps the center tender.
- Dry surfaces = better adhesion: wet meat makes gluey flour and loose crumbs.
- Rest time matters: a short rest after breading lets proteins and egg set, which improves crunch and reduces bare spots.
Why this matters in June 2026: countertop convection appliances (air fryers, smart ovens) are now common in many kitchens, and manufacturers increasingly include probe‑ready models and stronger fans. Grocery trends show wider availability of pre-sliced frozen cutlets and several plant-based breaded “chicken” options—both helpful for weeknight cooking. Pairing classic technique with these tools gets you restaurant crunch with less fuss.
Equipment you’ll want (nothing fancy)
- Cutting board + sharp knife
- Plastic wrap or parchment + meat mallet (or heavy skillet)
- 3 shallow bowls/plates for breading
- Instant-read thermometer or a probe thermometer (smart probes that alert at 165°F are common in 2026)
- Wire rack for draining; rimmed sheet pan if baking
- Perforated baking sheet (optional) to improve oven convection
Base ingredients (enough for ~4 servings)
Serving size: 1 cutlet (about 4–5 oz cooked) per person; plan 1–2 cutlets depending on appetites and sides.
- 2 large boneless, skinless chicken breasts (about 1.25–1.5 lb total) or 8 thin, pre-cut supermarket cutlets
- 1 tsp kosher salt, plus more to finish
- 1/2 tsp black pepper
- 1/2 cup all-purpose flour (or rice/cornstarch mix for extra crunch)
- 2 large eggs
- 1 tbsp Dijon mustard (optional; helps flavor and adhesion)
- 1 1/2 cups panko breadcrumbs
- 1/2 cup finely grated Parmesan (optional)
- 1 tsp garlic powder and/or smoked paprika (optional)
- Neutral oil (canola, grapeseed, sunflower) for frying or an oil sprayer for air/oven methods
- Lemon wedges to serve
Prep time: 20–30 minutes. Cook time: 8–16 minutes depending on method and thickness.
Step 1: Slice, pound, and dry the chicken (don’t skip the drying)
- Butterfly each breast: Place a breast flat on the board. Slice horizontally to create two thinner pieces (now 4 cutlets total). If your supermarket sells “cutlet-cut” chicken, skip this step.
- Pound to even thickness: Between plastic wrap or parchment, pound to about 1/4 inch. Uniform thickness means even cooking. If you want a little more juiciness, 3/8 inch is fine—just expect slightly longer cook time.
- Dry thoroughly: Pat each cutlet dry with paper towels. This is the step that prevents the breading from slipping—don’t skip it.
- Season: Salt and pepper both sides; seasoning the meat under the coating improves flavor through the crust.
What it should look like: The cutlet should be thin and flexible. If you see ragged holes, you pounded too aggressively—still usable, just handle gently during breading.
Step 2: Set up a breading station that won’t clump
Line up three shallow bowls in order: flour → egg → crumbs. This classic layout works best because you can move quickly without losing heat or picking up extra mess.
- Bowl 1 (Flour): flour + pinch salt & pepper; for extra crisp, try 25% cornstarch plus flour or use 100% rice flour for a lighter shell.
- Bowl 2 (Egg): eggs whisked with Dijon and 1 tbsp water.
- Bowl 3 (Crumbs): panko + Parmesan + spices.
Why the water in the eggs? A tablespoon thins the egg slightly so it coats evenly instead of forming puddles that cause gummy spots under the crumbs. If you’re egg‑free, see the dietary swaps section below.
Step 3: Bread the cutlets—then let them rest (this is your crunch insurance)
- Dredge in flour, shaking off excess.
- Dip in egg, let extra drip off.
- Press into panko, using your palm to make sure flakes stick.
- Rest 10 minutes uncovered on a wire rack. If you have time, refrigerate uncovered for 30–60 minutes—this extra dry-brine-style step firms up the coating especially well and improves adhesion.
What it should feel like: After resting, the breading should feel more set—less like loose sand and more like a thin crust.
Step 4: Choose your cooking method (pan-fry, oven, or air fryer)
All three methods work. Choose by priority:
- Pan-fry: best for the loudest, most shattering crunch; requires oil and attention.
- Oven: easiest for batches and hands-off cooking; preheating the pan or using a perforated sheet boosts crunch.
- Air fryer: crisp with less oil and quick cleanup; modern 2024–26 units with stronger convection and built-in probe options narrow the gap with frying.
Method A: Pan-fry for the most restaurant-style crunch
- Heat a large skillet over medium-high. Add enough neutral oil to come up about 1/4 inch.
- When oil shimmers, test with a breadcrumb: it should sizzle immediately (not smoke).
- Fry in batches, not crowding the pan. Cook 2–3 minutes per side until deep golden brown.
- Transfer to a wire rack; sprinkle with flaky salt while hot.
Temperature target: 165°F / 74°C in the thickest part. The USDA still recommends 165°F for poultry safety—use an instant-read or probe thermometer. For thin cutlets, the probe will register quickly; remove and rest 1–2 minutes.
What you’re looking for: loud sizzling, a consistent golden crust, and oil that never quite smokes. If oil smokes, reduce heat and let it cool. If the exterior is dark but interior is undercooked, lower the heat and finish in a 350°F oven for a few minutes.
Method B: Oven-baked for easy batch cooking
- Heat oven to 450°F / 232°C. Place a rimmed sheet pan (or perforated pan) in the oven to preheat 5–7 minutes.
- Remove pan, lightly brush or spray with oil; place cutlets on the hot pan. Lightly spray tops.
- Bake 10–14 minutes, flipping once, until golden and 165°F internal. If your oven has a convection or air-fry setting, use it and reduce time slightly (check early).
Why preheat the pan? It jump-starts browning so the bottom crust doesn’t go soggy—this mirrors the searing you get in a skillet. A perforated sheet or wire rack allows hot air under the cutlet for a crisper bottom.
Method C: Air fryer for crisp cutlets with less oil
- Preheat your air fryer to 400°F / 204°C if recommended by the manufacturer.
- Spray the basket with oil; arrange cutlets in a single layer. Work in batches.
- Spray tops lightly with oil—this is key for even browning.
- Cook 8–12 minutes, flipping halfway, until crisp and 165°F.
Note: Many 2024–26 air fryers have stronger convection fans and even probe options—if yours has a probe, use it and remove at 165°F. You won’t get the skillet sizzle, but you do get a very nice dry, crunchy surface. For an extra restaurant finish, finish briefly in a warmed skillet (30–45 seconds per side) to revive edge crispness.
Step 5: Serve immediately—or hold them without losing crispness
Cutlets are at peak crunch in the first 10–15 minutes. If cooking batches:
- Hold on a wire rack set over a sheet pan in a 200°F / 93°C oven.
- Do not cover with foil—steam will ruin the crust.
Serving ideas (same base, different dinners): lemon + arugula salad; quick chicken parm (marinara + mozzarella, broil 1–2 minutes); cutlet sandwiches with mayo and pickles; kid-friendly strips for dipping with roasted sweet potatoes. For a lighter plate, serve cutlets over a warm grain salad (farro, herbs, lemon) to balance texture and flavor.
Dietary modifications (smart swaps that still stay crispy)
- Gluten-free: Use a 1:1 gluten-free flour blend or rice flour for the dredge and certified gluten-free panko—many mainstream brands expanded options by 2025.
- Dairy-free: Skip Parmesan; add 1 tsp nutritional yeast or extra garlic powder for savory depth.
- Egg-free: Use aquafaba (chickpea liquid) or unsweetened plant milk plus 1 tsp cornstarch. Press crumbs firmly and rest longer (15–20 minutes) for better adhesion.
- Lower-oil: Use oven or air fryer; don’t skip a light oil spray—panko needs some fat to toast properly.
- Plant-based cutlets: Most breaded plant-based chicken analogues bread and cook the same way—adjust time for package instructions and use a thermometer if the product is sold raw.
2026 updates: appliances, shopping, and safety
- Smart thermometers: Probe thermometers that alert to 165°F are now a common, affordable upgrade. They remove guesswork for thin cutlets—set alerts and pull immediately.
- Pre-sliced and frozen cutlets: Grocery retailers continue to expand thin-sliced fresh and frozen cutlets. Flash-frozen thin slices can perform very well if thawed in the fridge and patted dry.
- Plant-based and hybrid options: Breaded plant-based “chicken” products have broadened since 2024. Use the same breading and cooking logic—thin pieces, dry surface, and a hot medium.
- Food safety reminders: USDA and FDA guidance remain the reference: cook poultry to 165°F, refrigerate perishables within 2 hours (1 hour if above 90°F ambient), and cool leftovers quickly.
- Packaging & sustainability: More brands now offer recyclable or compostable breadcrumb packaging; also look for panko in bulk bins to cut plastic waste and cost.
Common mistakes (and how to fix them)
- Breading falls off: The chicken wasn’t dry or you skipped the rest. Pat dry and rest breaded cutlets 10 minutes (or refrigerate 30–60 minutes).
- Soggy crust: Oil not hot enough (pan-fry) or pan not preheated (oven). Look for immediate sizzling—also, drain on a rack, not a flat plate.
- Burned crumbs, undercooked center: Heat too high or cutlets too thick. Pound thinner and check with a thermometer.
- Patchy breading: Too much egg pooling or not pressing crumbs. Let excess egg drip off, then press panko in with your palm.
- Cutlets taste bland: Under-seasoned layers. Season flour and crumbs lightly and add finishing salt after cooking.
Pro tips for next-level cutlets
- Use panko for “shatter” crunch: The large flakes create more crisp edges than fine breadcrumbs.
- One flavor booster: Choose one extra: garlic powder, smoked paprika, or grated Parmesan—a little goes further than many competing spices.
- Dry-brine for juiciness: Salt cutlets and refrigerate uncovered 30–60 minutes before breading to dry the surface slightly and season the meat.
- Dry hand, wet hand: One hand handles flour/crumbs, the other handles egg to keep your station tidy and avoid clumpy fingers.
- Two-step finish: For large batches, partially cook in the air fryer or oven, then finish in a hot skillet right before serving to revive edge crispness.
- Scale for a crowd: For 8 servings, bake on two preheated sheet pans and rotate racks halfway. Don’t crowd—the air needs to circulate.
Common-sense safety & storage
- Refrigerate leftover cutlets within 2 hours. Store in a shallow container to cool quickly.
- Reheat in a 375°F oven or air fryer 5–8 minutes to re-crisp; avoid relying on a microwave alone unless you finish in dry heat.
- If you reuse frying oil, strain it, store it in the fridge, and use only once or twice for breaded poultry. Discard when dark, foamy, or off‑smelling.
FAQ
Can I bread the chicken ahead of time?
Yes. Breaded cutlets can sit uncovered on a wire rack in the fridge for up to 8 hours. This resting time can improve adhesion. Cook from cold; add 1–2 minutes if needed and confirm internal temp reaches 165°F / 74°C.
What’s the best oil for pan-frying cutlets?
Use a neutral, higher smoke-point oil such as canola, grapeseed, or sunflower. Olive oil has more flavor but a lower smoke point; if you prefer its taste, mix it 50/50 with a higher smoke-point oil and keep the heat slightly lower.
How do I reheat crispy cutlets without turning them rubbery?
Use dry heat: a 375°F oven or an air fryer for 5–8 minutes will re-crisp the coating. If you have only a microwave, heat briefly and immediately finish in a hot skillet or under the broiler for 1–2 minutes.
Are frozen thin-sliced cutlets as good as fresh?
They can be. Many frozen thin-cut options are flash-frozen to preserve texture. Thaw in the fridge if possible, pat dry, then treat exactly like fresh: season, bread, rest, and cook to 165°F.
Can I get the same crunch with plant-based cutlets?
Yes. Breaded plant-based cutlets behave similarly—dry the surface, use panko or alternative crumbs, and apply heat until golden. Follow package cooking guidance for internal doneness if the product is pre-cooked; if raw, aim for a hot, crisp exterior and the manufacturer’s recommended internal temperature.
Final note from my grandmother’s stool: the magic is in the small, repeatable steps—drying, pressing, resting—plus a little patience. With these June 2026 updates—probe thermometers, stronger countertop convection units, and smarter shopping choices—you’ll get the same crackling, golden cutlets faster and more reliably than ever. Now, wipe your hands, listen for that satisfying sizzle, and enjoy.